Shopping Cart
0
Product
Products
(empty)
No products
$0.00
합계
Product successfully added to your shopping cart
수량
합계
There are 0 items in your cart. There is 1 item in your cart.
Total products
Total shipping
Calculate after login
합계
首頁
-
MCU
- 8bit 8051 MCUs
-
Arm Cortex-M0
- M0 개발 도구
- M091 Series
- M029GM030G/M031G Series
- M031 시리즈
- NuMicro M032
- M071 Series
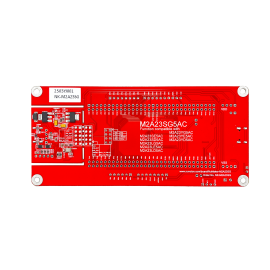
- M0A21 Series
- M0A23 Series
- NUC029 시리즈
- Nano103 Base 시리즈
- Nano100 시리즈
- Nano110/112 시리즈
- Nano120 USB 시리즈 (초저전력)
- Nano130 LCD 와 USB 시리즈 (초저전력)
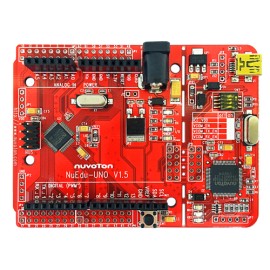
- NUC100/200 Series
- NUC120/123 USB 시리즈
- NUC121/125 시리즈
- NUC126 USB 시리즈
- M051 시리즈
- Mini51 시리즈
- M0518 시리즈
- NUC131 시리즈
- M0519 시리즈
- M0564 시리즈
- Arm Cortex-M23
- Arm Cortex-M4
- Arm Cortex-M33
- Arm Cortex-M55
- Arm Cortex-M7
- MPU
- 오디오
- IoT/GUI 솔루션
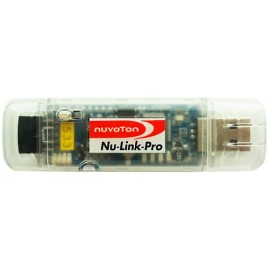
- 개발 도구
- Laser Diodes
- Analog ICs
- Motor
- Sale


30 other products in the same category:
-
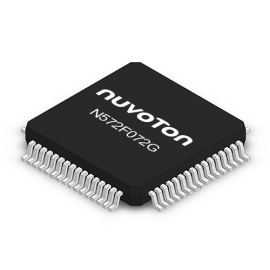
N572F072G
-
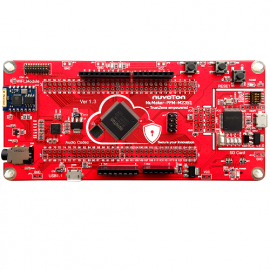
NuMaker-PFM-M2351
-
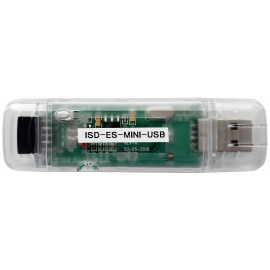
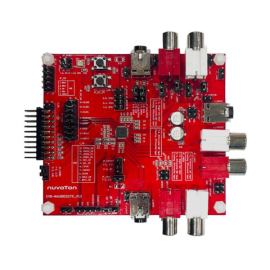
NU-ISDMINUSB
-
NuTiny-NUC029SDE
-
NuTiny-NUC029SEE
-
NuTiny-NUC029SGE
-
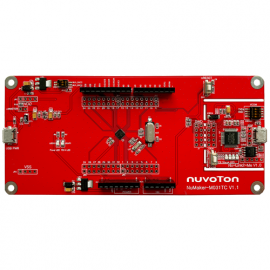
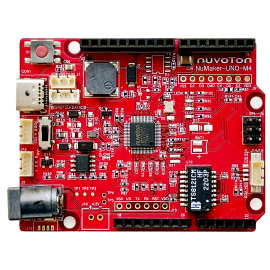
NuMaker-M031TC
-
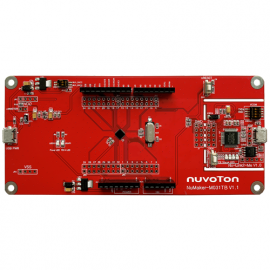
NuMaker-M031TB
-
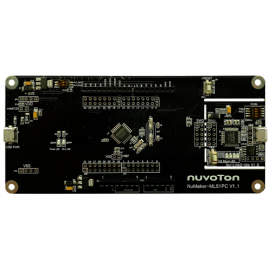
NuMaker-ML51PC
-
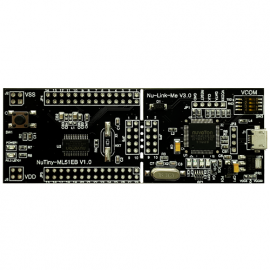
NuTiny-ML51EB
-
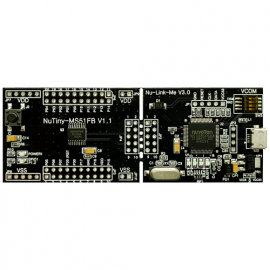
NuTiny-MS51FB
-
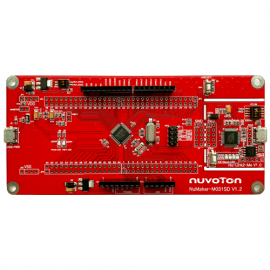
NuMaker-M031SD
-
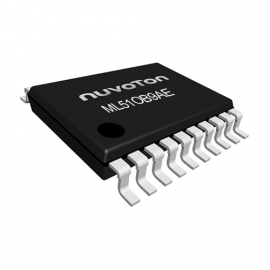
ML51OB9AE
-
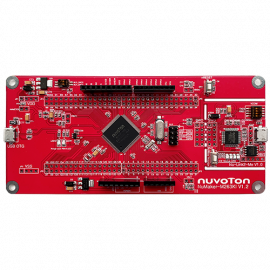
NuMaker-Server-NUC980
-

ML51UB9AE
-
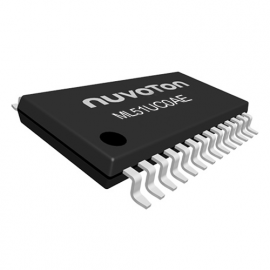
ML51UC0AE
-
NuMaker-M263KI
-

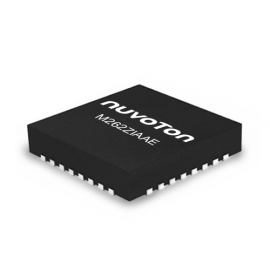
M261ZIAAE
-
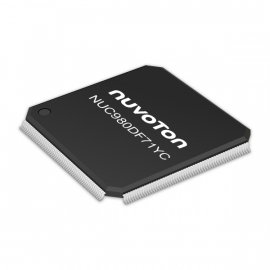
NUC980DF71YC
-

M261SIAAE
-

M261KIAAE
-
M262ZIAAE
-
M262SIAAE
-
M262KIAAE
-

M263ZIAAE
-

M263SIAAE
-

M263KIAAE
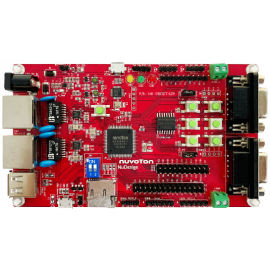
-
NuMaker-IIoT-NUC980
-

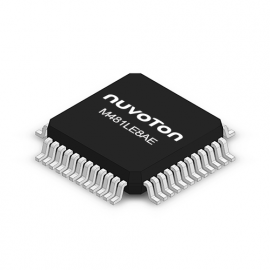
NuMaker-M483KG
-
NuTiny-MS51DA